Introduction
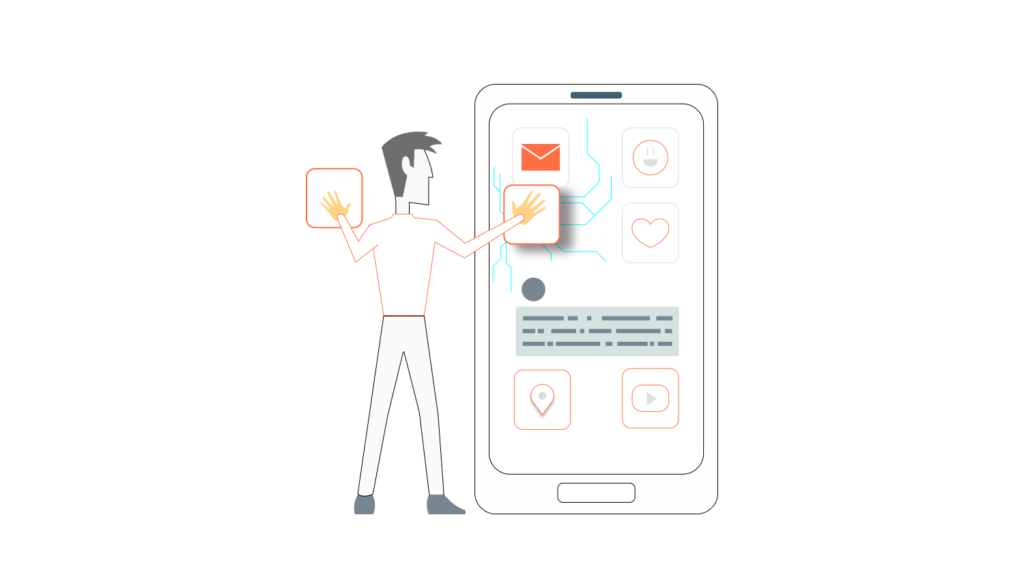
If you have ever thought about creating a mobile app but felt discouraged because you lack coding skills, then you are not alone. In fact, many beginners assume that app development requires complex programming knowledge. However, that is no longer the case. Fortunately, with the rise of no-code app builders, almost anyone can create a fully functional mobile app without writing a single line of code.
With this in mind, this guide will walk you through the entire app development process. First, we will define the app idea. Next, we will explore the best no-code platforms. After that, we will focus on design, functionality, testing, and finally, launching your mobile app successfully. So, let’s get started!
Step 1: Define Your Mobile App Idea
Before anything else, it is important to define what your mobile app will do. To begin with, ask yourself the following questions:
- What problem does your app solve?
- Who is your target audience?
- How does your mobile app stand out from others?
- What features are essential for your app to function?
At this point, you might want to create a rough sketch of your app interface using tools like Figma or Balsamiq. This will help visualize the layout before moving to the next step.
Step 2: Choose the Best No-Code/Low-Code App Builder
Now that you have a clear idea, the next step is selecting the best no-code platform. Since there are many app builders available, choosing the right one is crucial. To make things easier, here are some of the best options:
- Adalo – Perfect for beginners due to its drag-and-drop interface.
- Thunkable – Ideal for interactive apps with advanced logic.
- Glide – Best suited for database-driven mobile apps using Google Sheets.
- Bubble – Offers advanced customization for complex app development.
Once you have selected a platform, you can move on to designing your mobile app.
Step 3: Design Your Mobile App
At this stage, it is time to focus on design. In order to create a user-friendly mobile app, you should follow some key design principles.
- First, keep the UI simple and clean.
- Next, ensure easy navigation to improve user experience.
- Then, maintain a consistent color scheme and typography.
- After that, optimize the layout for different screen sizes.
- Finally, use engaging animations to make interactions smooth.
For this reason, free tools like Canva, Figma, or Adobe XD can help with app design. Once the design is finalized, the next step is adding functionality.
Step 4: Add Functionality to Your Mobile App
So far, we have covered defining the idea, choosing a platform, and designing the mobile app. Now, let’s move forward by adding essential functionalities. Depending on the type of app you are building, you may need:
- User authentication (sign-up and login).
- Push notifications for engagement.
- Payment gateways like Stripe or PayPal.
- Database integration to store user data.
- API connections for third-party services.
Since no-code platforms offer pre-built elements, adding these features is easy. Once functionality is in place, the next step is testing.
Step 5: Test Your Mobile App Before Launching
Up until now, we have focused on building the mobile app, but testing is equally important. Before launching, you need to ensure that the app works flawlessly. To achieve this, consider using the following testing tools:
- TestFlight (iOS) – Helps test iPhone apps before publishing.
- Firebase Test Lab (Android) – Ideal for Android app testing.
- BrowserStack – Ensures cross-device compatibility.
After testing, gather feedback from real users. If any issues arise, make improvements before proceeding to the launch phase.
Step 6: Publish Your Mobile App on Google Play & App Store
At this point, your mobile app is almost ready for the world. However, before you can launch, you need to follow specific guidelines for app stores.
How to Publish on Google Play Store (Android)
- First, sign up for a Google Play Developer account ($25 one-time fee).
- Then, create a new app listing in the Google Play Console.
- After that, upload your app APK/AAB file.
- Next, write an app description using SEO keywords for better ranking.
- Finally, submit for review and wait for approval.
How to Publish on Apple App Store (iOS)
- Begin by registering for an Apple Developer account ($99 per year).
- Then, use Xcode or Thunkable to export your app to iOS.
- After that, create an app listing on App Store Connect.
- Finally, submit for review, which usually takes 24-48 hours.
Now that your mobile app is published, it’s time to attract users.
Step 7: Market Your Mobile App to Gain Users
Even though your mobile app is live, it still needs visibility. In order to gain users, you should focus on marketing strategies such as:
- App Store Optimization (ASO) – Use relevant keywords in your app title and description.
- Social Media Promotion – Share your app on Facebook, Instagram, Twitter, and TikTok.
- Content Marketing – Write a blog (such as on Techilion) to attract organic traffic.
- Influencer Collaborations – Get influencers to review your app.
- Paid Advertising – Run Google Ads and Facebook Ads to reach more users.
By using these methods, you can increase downloads and grow your user base.
Conclusion
As you can see, creating a mobile app without prior coding experience is entirely possible. While traditional app development requires programming skills, modern no-code platforms make the process accessible to everyone.
To summarize, start by defining your mobile app idea. Then, choose the right no-code builder and design an intuitive app interface. After that, add the necessary functionalities and test your app thoroughly. Once everything is in place, publish your mobile app and implement strong marketing strategies.
Now that you have a step-by-step guide, there’s no reason to wait. Instead, take action today and start building your first mobile app! 🚀

